# WindyFlo Tutorial
One of WindyFlo's greatest strengths is the ability to visually create AI workflows and systems by dragging, dropping, and connecting nodes. Start building your AI pipeline without complex setups or preparations!
\
This guide will walk you through the basic steps to create and run your first AI pipeline using WindyFlo.
### Prerequisites
* **WindyFlo Account:** You'll need a WindyFlo account. If you don't have one yet, please refer to the WindyFlo Setup Guide to create an account and log in.
* **OpenAI API Key:** This example uses an OpenAI model. You will need your own OpenAI API key for it to work. (Paid plan users can also use the API KEY provided by WindyFlo. See the Credentials guide.)
{% hint style="info" %}
If you're unsure what an OpenAI API key is or how to get one, refer to \[**this guide**]
{% endhint %}
### Step 1: Create a New Pipeline
1. Log in to WindyFlo.
2. Click the "My Pipelines" button.
3. Click the "Create Pipeline" button.
4. Enter a name for your pipeline (e.g., `MyFirstChatbot`).
5. (Required) Add a description and tags.
6. Click the "Create AI Model Pipeline" button. An empty workspace (canvas) will open.
### Step 2: Add and Connect Nodes
Now, let's add and connect the core components of an interactive chatbot.
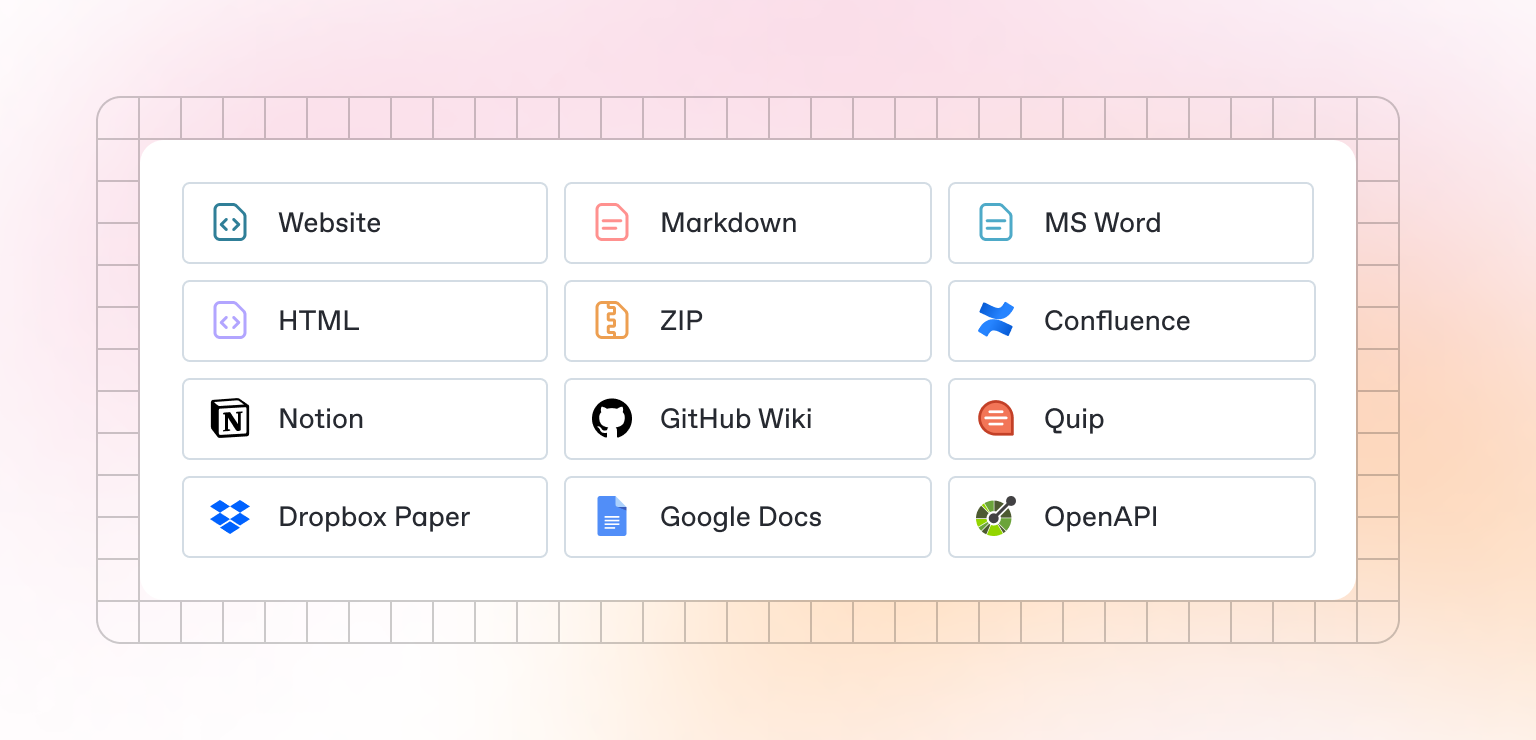
1. Click the "Add Node" button in the top-left corner of the screen.
* WindyFlo's Node Library:
2. From the `Chat Models` category, find the `ChatOpenAI` node and drag and drop it onto the canvas. (This acts as the chatbot's brain).
3. Click "Add Node" again, and from the `Memory` category, drag the `Buffer Memory` node onto the canvas. (This remembers the conversation).
4. Click "Add Node" once more, and from the `Chains` category, drag the `Conversation Chain` node onto the canvas. (This manages the flow between the chat model and memory).
5. **Connect the Nodes:** (Connect them as shown in the image below - *assuming an image would be here in the original document*)
* Connect the right output port (`ChatOpenAI`) of the `ChatOpenAI` node to the left input port (`Chat Model`) of the `Conversation Chain` node.
* Connect the right output port (`BufferMemory`) of the `Buffer Memory` node to the left input port (`Memory`) of the `Conversation Chain` node.
챗봇의 기본 파이프라인
### Step 3: Configure the ChatOpenAI Node (API Key and Model)
For the `ChatOpenAI` node to function, you need to connect your OpenAI API key and select a model.
1. Click the `ChatOpenAI` node on the canvas. The settings panel will appear on the right side of the screen.
2. In the `Connect Credential` section, click the dropdown menu and select "Create New" to enter and save your OpenAI API key. (If you have an already saved key, select it.)
3. In the `Model Name` section, click the dropdown menu and select a different available model if desired.
4. (Optional) Adjust the `Temperature` value.
{% hint style="info" %}
```
* `Temperature` controls the creativity or randomness of the model's responses.
* **Lower values (closer to 0):** Produce more consistent and predictable answers. (Suitable for factual information).
* **Higher values (closer to 1):** Generate more diverse and creative answers. (Suitable for brainstorming, storytelling).
* The default value is usually between 0.7 and 0.9. Adjust it as needed to achieve your desired response style.
```
{% endhint %}
5. The `Buffer Memory` and `Conversation Chain` nodes will work with just the connections in this basic example, without additional configuration.
### Step 4: Save and Test Run
Now, save the pipeline and test your chatbot.
1. Click the "Save" button in the top-right corner of the screen to save your pipeline.
2. Click the "Run" button next to the Save button to open the test chat window.
3. **First Question (Provide Information):** In the chat window, type "My name is WindyFlo." and press Enter. Observe the chatbot's response (e.g., "Hello, WindyFlo!").
4. **Second Question (Check Memory):** Subsequently, type "What is my name?" in the chat window and send it.
5. Verify that the chatbot remembers the name you provided in the previous turn and responds accordingly, e.g., "Your name is WindyFlo." This confirms that `Buffer Memory` and `Conversation Chain` are working correctly.
챗봇 저장 및 테스트
### Step 5: Collaborating on AI Pipelines (Available for Private Users and Above)
WindyFlo allows you to co-create AI pipelines with team members through its collaboration features.
1. **Click MY Pipeline:**
* Click on "MY Pipeline" in the top navigation menu.
2. **Add Team Members:**
* At the top of the MY Pipeline screen, click the "Add Team Members" button.
3. **Enter Email and Permissions:**
* Enter the email address of the team member you want to invite, select their permissions, and then click the "Send Invitation" button.
* Once the invitation is accepted, the team member's icon will appear at the top of the screen.
4. **Select a Collaborative Pipeline:**
* On the MY Pipeline screen, click the "Team" button on the right and select the pipeline you want to collaborate on.
5. **Access Collaborative Workspace:**
* When you access the workspace of the selected pipeline, the icons of collaborating team members will be displayed at the top.
6. **Collaboration Method:**
* Each team member can directly add or modify nodes.
* Changes are reflected in real-time, enabling seamless collaboration.
### Step 6: (Optional) Share as a Chatbot
You can easily share the interactive chatbot you've created with others.
1. Click the "Embed as API" button in the top-right corner.
2. Select the "Share Chatbot" tab.
3. If necessary, modify the chatbot title or welcome message and click the "Save Changes" button.
4. Copy the share URL generated at the top.
5. Through this URL, others can also interact with the conversation-aware chatbot you built.
Share as a Chatbot
***
### Congratulations!
🎉 You have successfully created your own smarter chatbot that remembers conversation context.
Just like this, WindyFlo helps you easily implement complex AI functionalities by combining various nodes. To explore more features, check out the following documents:
* **Core Concepts:** Gain a deeper understanding of key concepts like Pipelines, Nodes, Chains, and Memory.
* **Node Library:** Discover the detailed functions and settings of all available nodes.
* **Embed as API:** Easily connect your completed AI pipeline to external services using the Embed as API feature.
* **Tutorials:** Follow specific use case guides, such as building a document-based Q\&A bot or creating an agent using MCP.